In my previous article, How To Diffuse So You Can't Lose, I shared with you the basics for using your diffuser nozzle attachments, on your blow dryer. For those of you who may have missed this post, allow me to break it down for you again.
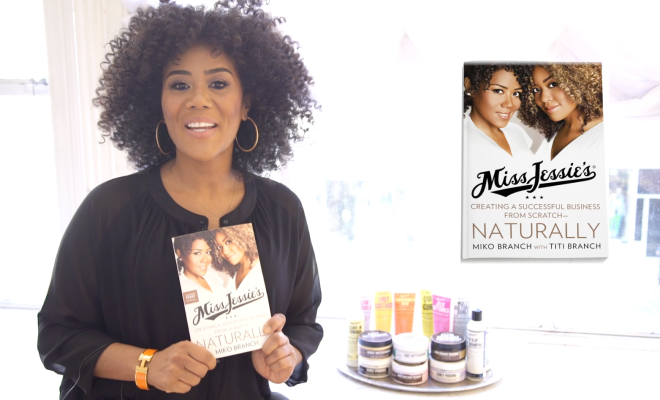
1. Before diffusing, cleanse hair in a sulfate free product, which nourishes and moisturizes hair. We recommend Miss Jessie's Créme de la Créme.
2. While hair is still damp, gently comb through to remove all tangles. This will minimize the potential for frizz.
3. For all textures of curls, coat hair with a layer of products that defend against extreme heat and supports curl sculpting and definition. For wavy or transitioning hair, we suggest Miss Jessie's Transitioner's Magic, Quick Curls, or MultiCultural Curls. For tighter coils and kinks, we recommend Miss Jessie's Coily Custard or Curly Pudding.
4. When ready to diffuse, wavy textures to transitioners should flip head downward, directing hair foreword and over the face, cupping the hair in the nozzle in an upward motion. This will create and abundance of full, voluminous curls. Those with tighter curls should direct the diffuser from a downward angle, cupping hair in nozzle in an upwards motion, as this will provide more control to curls while drying and create more curl definition.
5. When hair is almost dry, take a moment to scrunch curls by hand, applying a styler that will add a small amount of additional, more secure hold. Continue to sculpt and manipulate curl's shape, until your curls have reached your desired bounce and fullness. If after scrunching your curls haven't reached ideal bounce appeal, gently hit hair with the diffuser once more briefly, and style accordingly. If hair is getting too wild for your taste, put the diffuser away and control curls via hand sculpting.
Read more on the full article.
Still confused about how to diffuse? Sure- the concept may appear simple enough on paper, but are you still not 100% confident in your ability to create frizz free, perfectly sculpted curls with your diffuser? Well no need to fret Curly Queens! You don't need to allow this addition to your beauty arsenal intimidate you. Watch and learn as curl expert and Miss Jessie's Co-founder, Titi Branch, walks through the diffusing process, from start to finish, in this tutorial from highfashionmagazine.com. source: youtube.com via highfashionmagazine.com
Check out more from this tutorial video.
Now I know you must be wondering if the actual diffusing process is really as simple as it seems on paper, and never one to lie before, I'm going to be completely honest with you: learning how to properly diffuse hair is a skill, and like any skill worth having, it takes practice. For me, learning how to diffuse my hair has been a series of trials and errors. Some days I walk out the house with bouncy waves and ringlets, others I look like a sheep that's been cast aside by a tornado. The real trick is learning what works best for you and your hair's particular texture.
For instance, I used to begin blowing my hair with the diffuser shortly after getting out the shower, and while diffusing, I would begin to scrunch my hair with sculpting product, when it was almost dry. I believed that was the best way to get the curl definition I wanted, and though it seemed like a good idea at the time, I typically ended up not loving the results. Typically this route would cause the product to weigh curls down, leaving them frizzy and stretched out, no matter how much I scrunched and sculpted with my hands. After months of experimenting with various protective styles, product combinations, and even investing in a set of satin pillowcases, I eventually figured out a way to achieve the desired diffuser results that suited my hair's unique sensibilities and satisfied my personal style.
While my hair is still damp, I apply a styling moisturizer, but rather than get right to diffusing, I twist and weave sections of my hair, into braids or bantu knots. If I my goal is a more laid back, boho waves, I go with a simple braid out. If I am going for a more polished look with romantic ringlets, I will do a bantu knot out. I typically wash my hair in the evenings and sleep on it while still damp, and wrapped in a silk scarf or satin nightcap. Pre-setting my hair in this way makes morning beauty prep a breeze! I literally unravel the knots or braids, flip my hair over, and diffuse for a few minutes, until my hair is no longer damp. After that, I simply apply a little product or coconut oil, to tame any random fly-a-ways and add a little extra shine.
So if you are a first time diffuser user, do not let the results of your first rounds discourage you, if they are not perfect. Think of this learning experience as an opportunity to get creative with your hair and expand your beauty horizons. Also, remember my curly queens, everyone's hair is composed of varying curl patterns and textures, so while a general blueprint of the diffusing process is always helpful, everyone's styling processes are bound to differ. So sculpt and play with your beautiful canvas of curls, and you are sure to discover your what works best for you in no time!
Sources: 1 | 2 | 3 | 4 | 5 | 6
***We would like to thank Miss Jessie's salon stylist and curl expert ReJane, for sharing with us her diffusing tips and tricks.***